

I have images this target twice before, it was one of the first targets I ever got a satisfactory result from. I wanted to try imaging it again, this time using new processing techniques such as stacking in pixinsight, a greater number of Darks and Bias (20 instead of 10). Now I have a better understanding of Astrophotography, see if I could make any improvements.
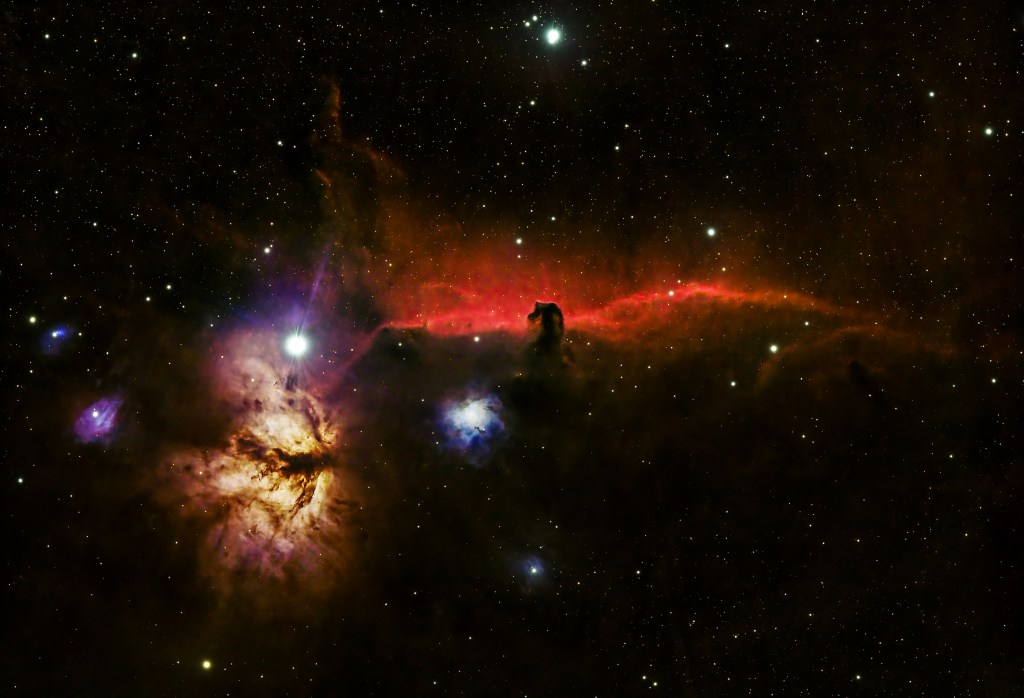
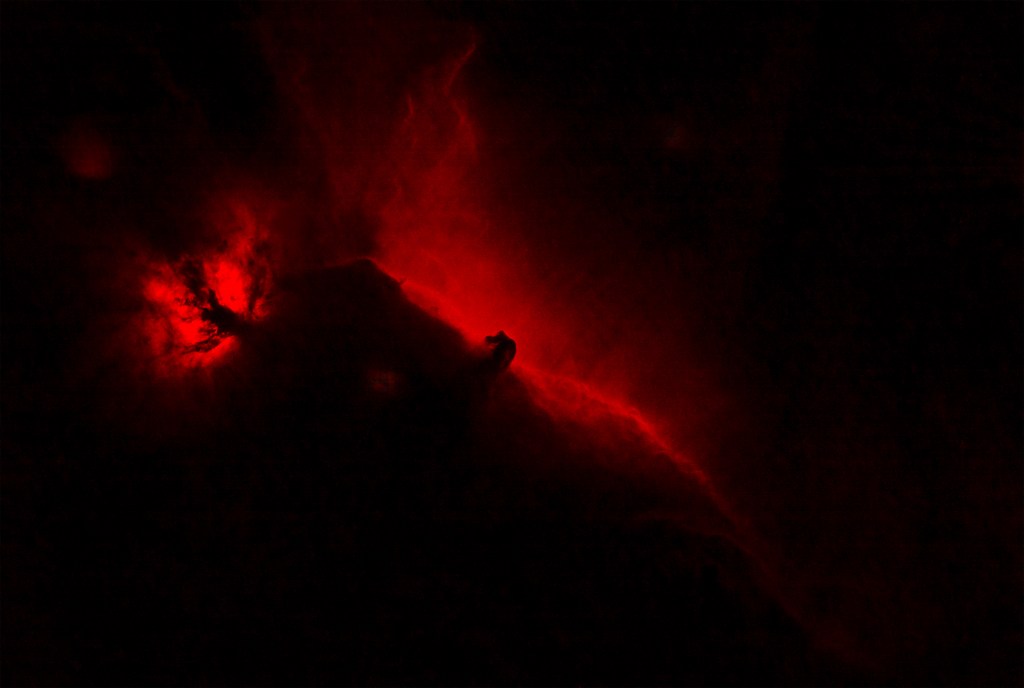
I have a dual band filter for my OSC and I had captured around 2 hours worth of data with this filter. As the horse head Nebula contains a lot of Hydrogen Alpha, I processed this image in photoshop, removing the green and blue layers, leaving only the Red layer of the RGB composition. This red layer was then inserted to my RGB data as a new layer and the blending mode set to lighten.
The below two images show it with and without the inclusion of the Ha data layer.
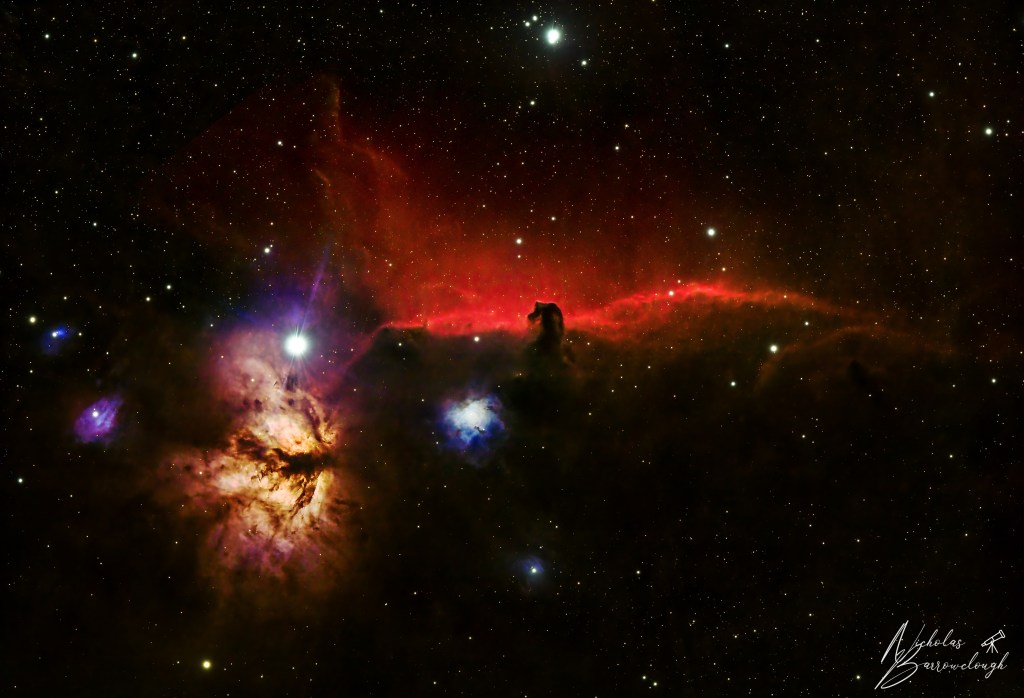
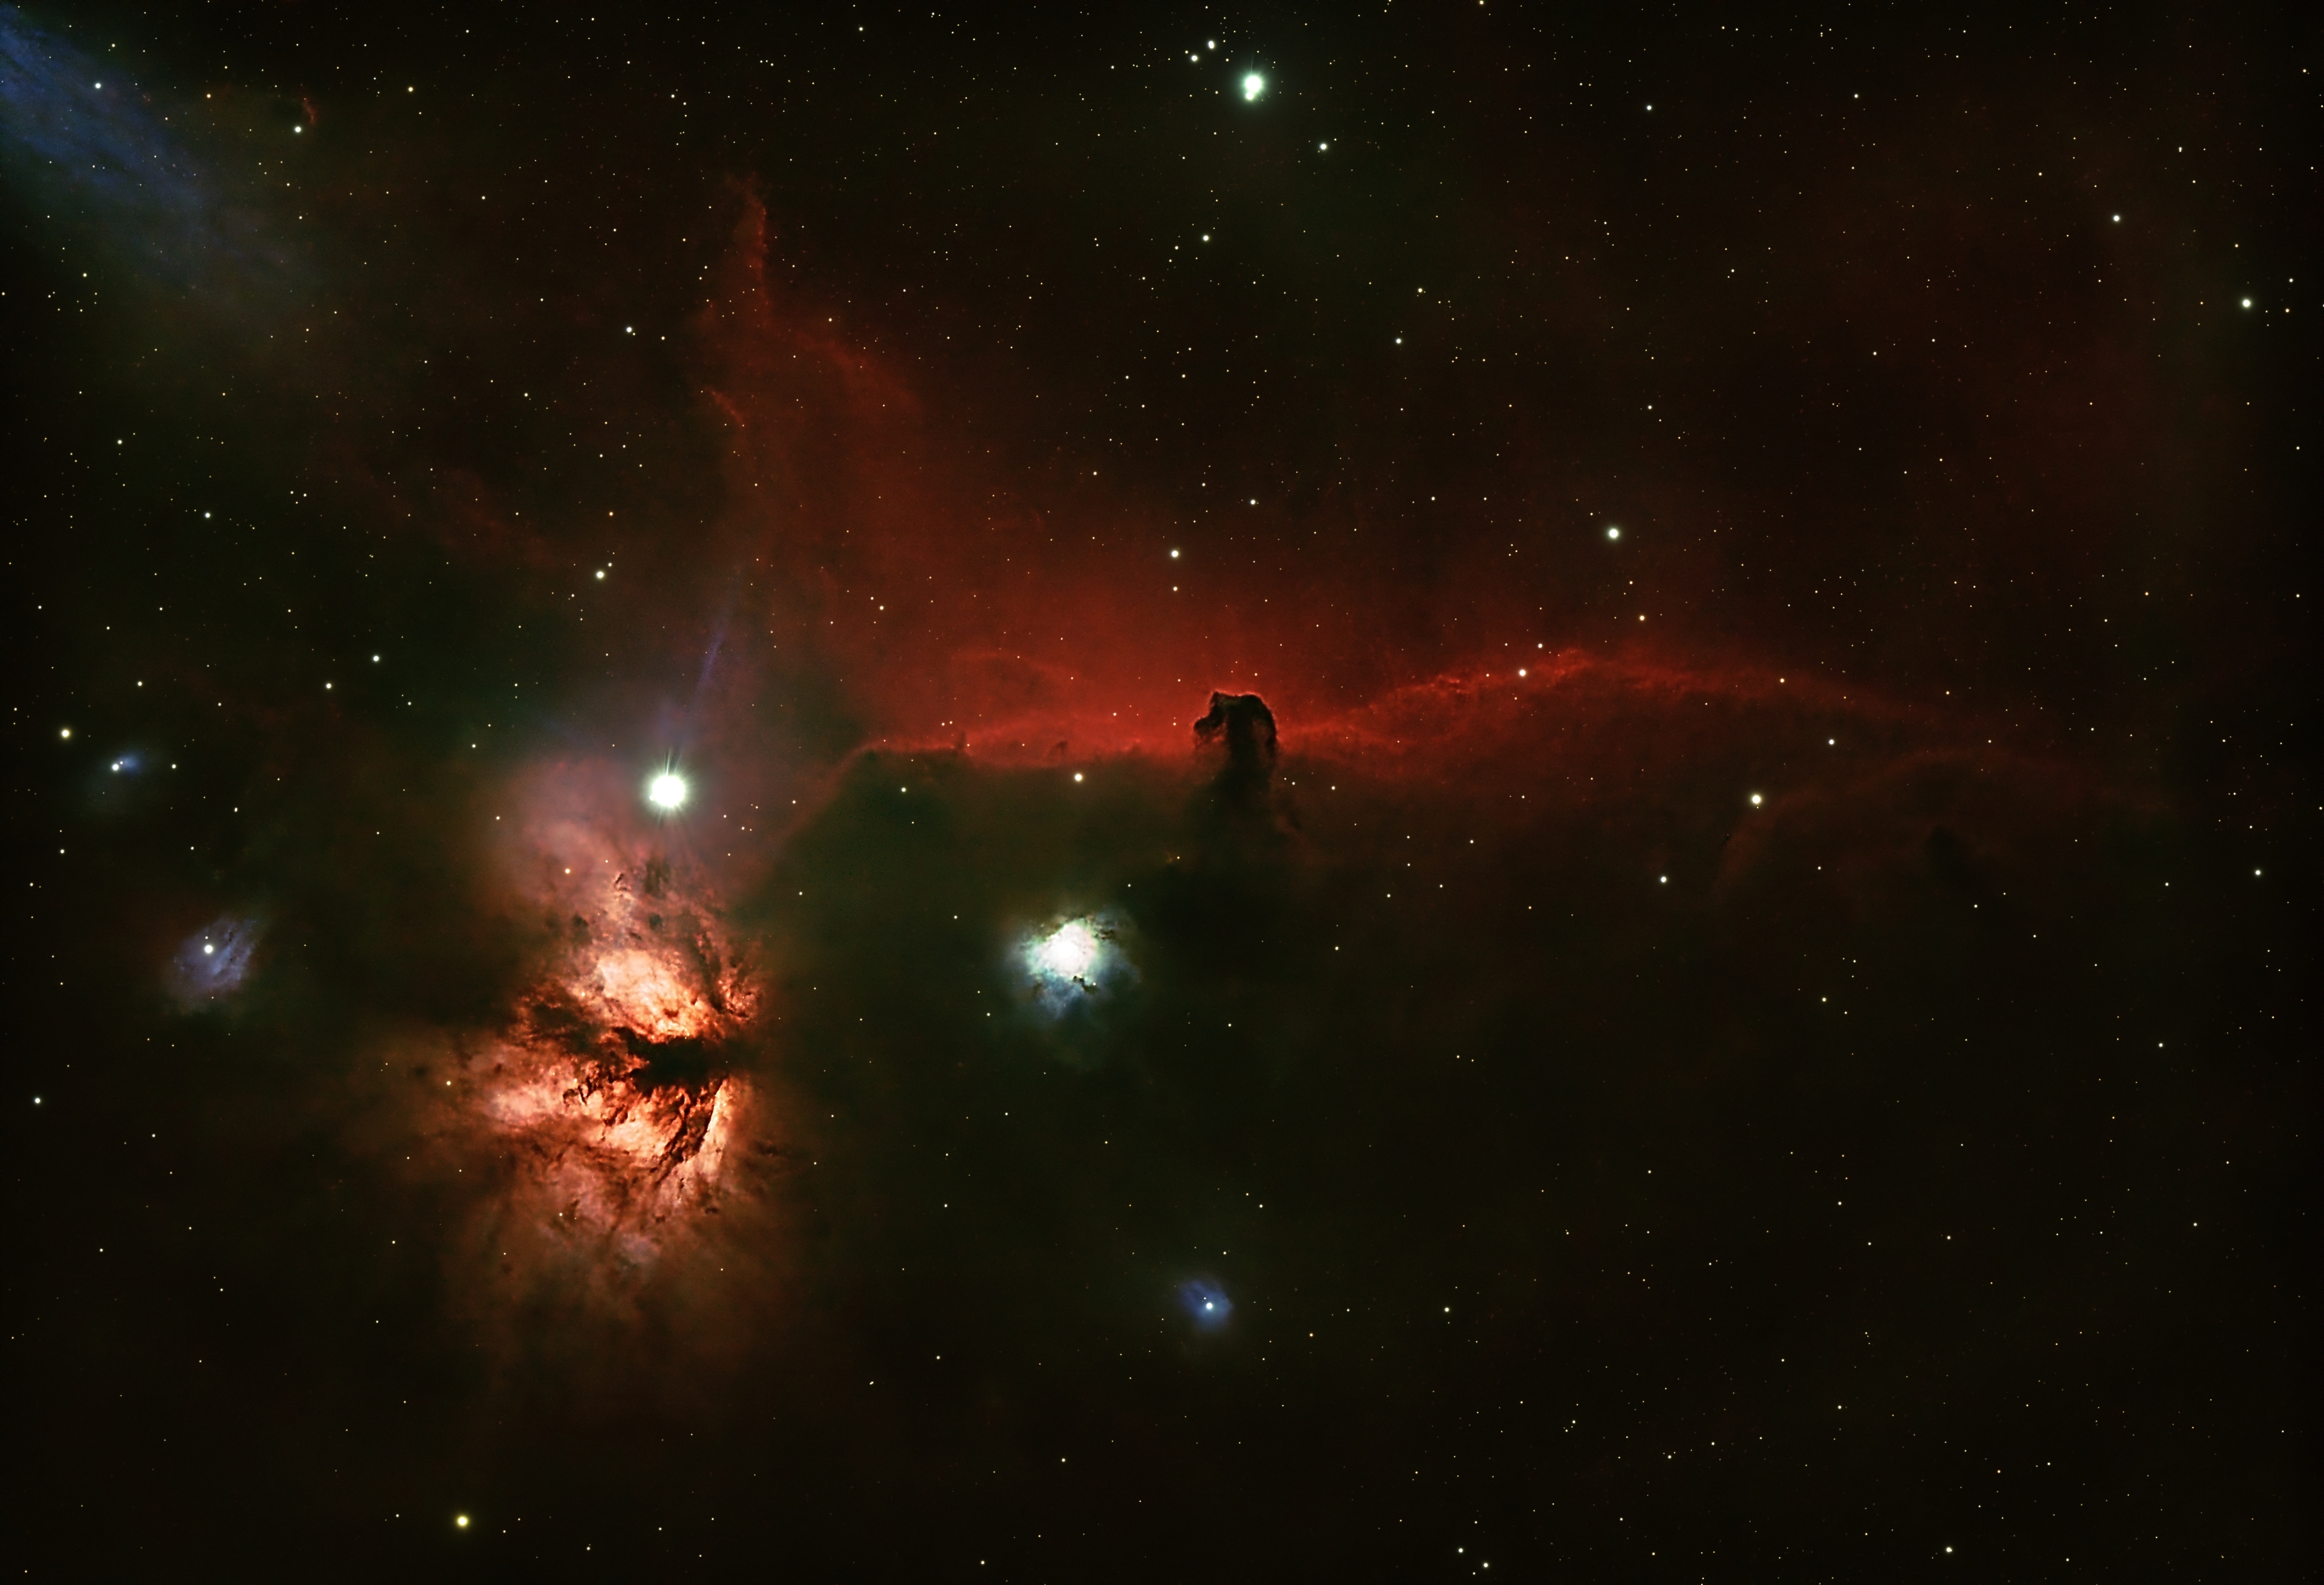
As my skills in post processing and editing the data are improving, I enjoy going back (on cloudy nights!) and revisiting old data, and seeing how a different workflow or my latest processing techniques affect the final image. Here’s the same data reprocessed this time completely in Pixinsight. it is a little sharper and not quite so much over exposure in some areas as the previous edit.
Discover more from Nicks Astrophotography
Subscribe to get the latest posts sent to your email.
